
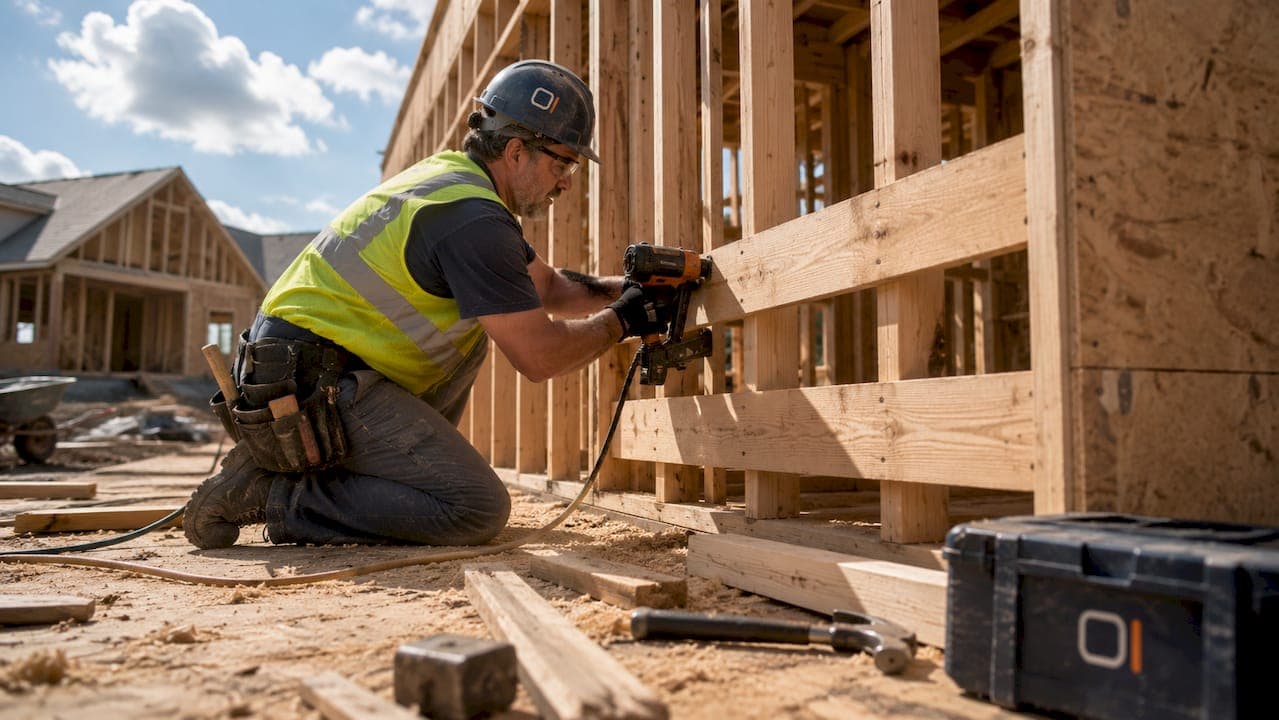
Blocking panels in shear walls are structural members installed at horizontal sheathing joints to provide solid backing for panel edges and maintain a continuous lateral load path from the diaphragm to the foundation. Without them, a shear wall cannot achieve its rated capacity under IBC 2306, SDPWS, or APA design standards. The role of blocking panels in shear walls is straightforward but frequently misunderstood in the field: they turn a collection of framing members and sheathing into a unified lateral force resisting system. Getting this detail right determines whether your wood-framed building performs as designed under seismic or wind loading.
How do blocking panels affect shear capacity and load transfer?
A shear wall transfers lateral forces through sheathing panels into the framing, and from there into the foundation. Every panel edge must bear on solid framing to develop the full nail withdrawal resistance the design relies on. Where sheathing panels stack vertically and their horizontal edges fall between studs, blocking fills that gap.
Blocked shear walls provide approximately double the allowable shear capacity compared to unblocked walls under IBC 2306. That single fact reframes how you should think about blocking: it is not a minor detail but a capacity multiplier. An unblocked wall carries roughly 50% of the shear load a properly blocked wall can handle at the same nailing schedule.
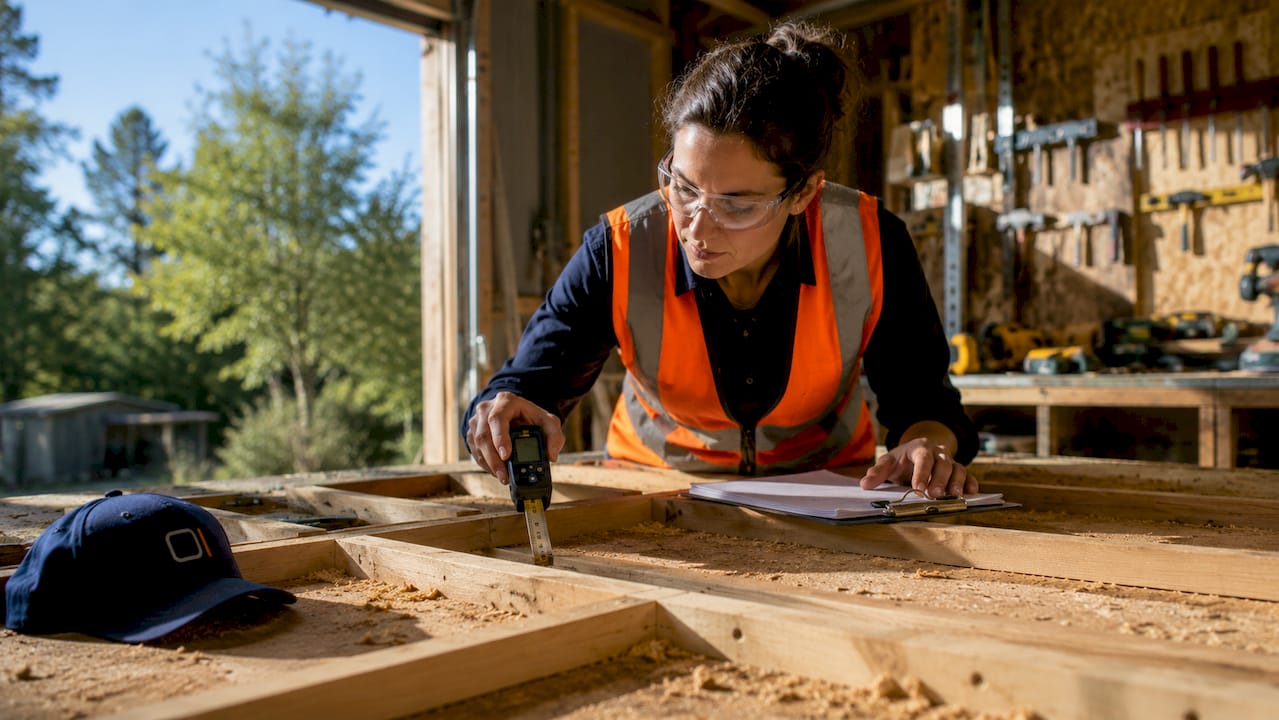
The mechanism is direct. When a sheathing panel edge floats between studs with no backing, nails at that edge have nothing to bear against. Shear forces cannot transfer across that joint. The lateral force transfer path breaks, and the wall behaves as a series of disconnected segments rather than a continuous diaphragm.
The table below shows how blocking status and nailing schedule interact to define shear capacity in a typical wood-framed wall:
| Wall Configuration | Edge Nail Spacing | Relative Shear Capacity |
|---|---|---|
| Blocked, 3" o.c. | 3 in. | Full rated capacity |
| Blocked, 4" o.c. | 4 in. | Moderate reduction |
| Blocked, 6" o.c. | 6 in. | Approximately 50% of 3" blocked |
| Unblocked, any schedule | Any | Approximately 50% of equivalent blocked |
Pro Tip: Always verify that your nailing schedule matches your blocking specification. A blocked wall with 6-inch edge nailing can perform no better than an unblocked wall with the same spacing.
What are the code requirements for installing blocking panels?
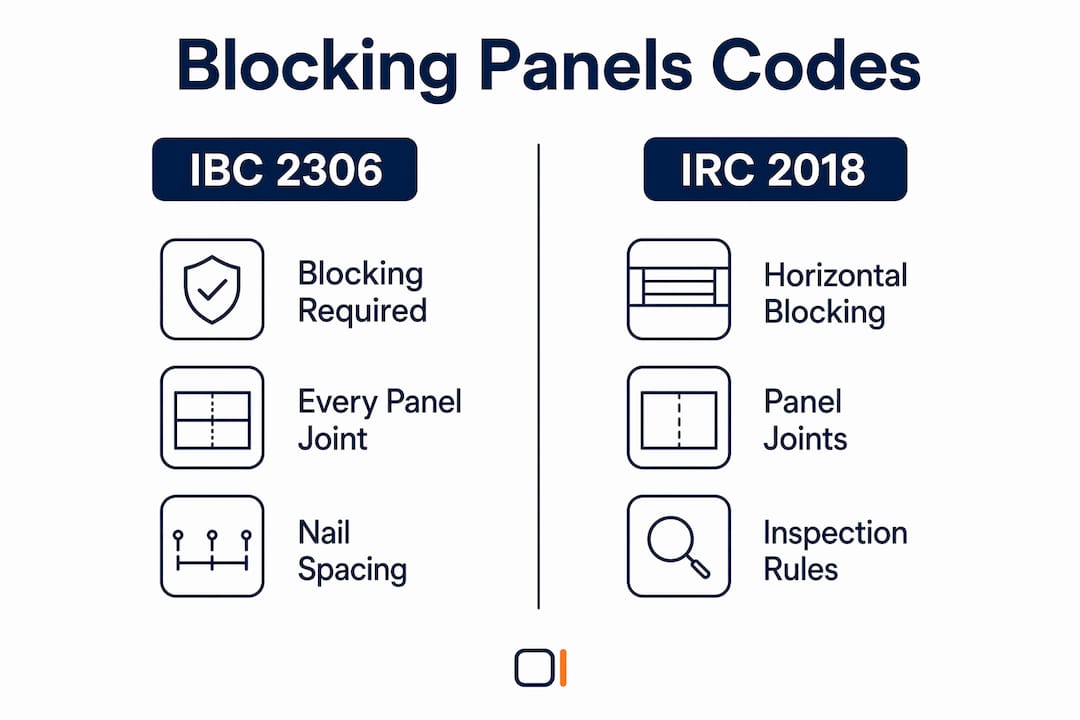
IBC 2306, IRC 2018 Section R602.10.4, and the SDPWS all require blocking at every horizontal panel joint in a shear wall assembly. The code language is unambiguous: all panel edges must bear on solid structural framing, which means top and bottom plates at the wall ends and horizontal blocking wherever sheathing panels meet between those plates.
Acceptable blocking members are typically 2x or 3x lumber, with the choice driven by shear demand and nailing density. For standard residential shear walls with edge nailing at 4 inches or 6 inches on center, 2x blocking is generally sufficient. For high-shear applications with nailing at 2 or 3 inches on center, 3x blocking is required to prevent nail splitting.
A code-compliant blocking installation covers these steps:
- Identify every horizontal sheathing joint before framing is closed.
- Install 2x or 3x blocking flat between studs at each joint, nailed to adjacent framing.
- Confirm blocking is flush with the stud face so sheathing bears fully on it.
- Apply the specified edge nailing schedule to both the sheathing and the blocking.
- Document blocking locations on framing drawings for inspection reference.
- Request a framing inspection before drywall covers the assembly.
Skipping horizontal blocking at panel joints disqualifies the wall section from continuous shear wall panel credit under IRC 2018 R602.10.4. That is not a minor compliance gap. It means the wall you designed on paper does not legally exist in the field.
Pro Tip: Coordinate with the framing contractor before sheathing begins. Marking blocking locations on the stud layout takes minutes and prevents costly corrections after sheathing is nailed.
What practical challenges exist for blocking panel inspection?
The most common field violation in shear wall construction is omission of horizontal blocking at panel joints. Framers often treat blocking as optional, particularly when it is not explicitly called out on framing plans. The result is a wall that looks complete from the outside but lacks the structural continuity the design assumes.
Inspection timing is critical. Once drywall covers the framing, missing blocking is undetectable without destructive investigation. Engineers and inspectors must verify blocking before sheathing is applied or, at minimum, before interior finishes close the wall cavity. Photographs taken during framing provide a defensible record.
Fastener quality matters as much as blocking presence. Over-driven nails that break the sheathing surface substantially reduce shear capacity even when blocking is correctly installed. The nail head must bear on the structural panel face to transfer load. A pneumatic nailer set at too high a pressure can compromise an entire wall line in minutes.
Common field problems to watch for include:
- Blocking installed with gaps or misalignment that prevents full sheathing contact.
- Nails driven at an angle into blocking rather than perpendicular to the sheathing face.
- Blocking members that are undersized or installed with the narrow face out, reducing bearing area.
- Nailing schedule errors where field nailing is applied at edge spacing, reducing capacity by up to 50%.
- Blocking absent at one joint in a multi-panel wall, breaking the load path at that level.
How does blocking panel choice affect high-shear applications?
Seismic design categories D, E, and F, along with high-wind exposure zones, impose shear demands that standard 2x blocking cannot reliably support. At nailing densities of 2 or 3 inches on center, the nail pattern is tight enough that 2x members split under installation. 3x blocking members are the correct specification for these conditions, providing enough cross-sectional area to accept dense nailing without splitting.
The table below compares blocking member choices by application and their effect on shear wall performance:
| Blocking Member | Typical Application | Nailing Density Supported | Splitting Risk |
|---|---|---|---|
| 2x flat blocking | Standard residential, low-to-moderate shear | 4–6 in. o.c. | Low |
| 3x flat blocking | High-shear, seismic/wind zones | 2–3 in. o.c. | Very low |
| Double 2x blocking | Where 3x is unavailable | 3–4 in. o.c. | Moderate |
Holdown hardware placement interacts directly with blocking. Holdowns anchor the shear wall chord to the foundation and resist the overturning forces that lateral loads generate. The load path from sheathing through blocking through studs to holdowns must be continuous. A gap in blocking at any horizontal joint interrupts that path and reduces the effective wall height contributing to overturning resistance.
For full-height shear wall segments, specifying 3x blocking in high-shear zones is not conservative overdesign. It is the minimum specification that keeps the nailing pattern intact and the wall performing at its rated capacity. Engineers working in seismic or high-wind regions should call out blocking member size explicitly on structural drawings, not leave it to framer judgment.
Pro Tip: In high-shear wall designs, add a general note to your structural drawings requiring 3x blocking at all horizontal panel joints where edge nailing is 3 inches on center or tighter. This prevents substitution in the field without a formal RFI.
Key Takeaways
Blocking panels are the single most consequential detail in shear wall design, directly controlling whether a wall achieves its rated capacity or fails at roughly half that value.
| Point | Details |
|---|---|
| Capacity impact of blocking | Blocked walls carry approximately double the shear load of unblocked walls under IBC 2306. |
| Code mandate | IBC 2306, IRC 2018 R602.10.4, and SDPWS all require blocking at every horizontal panel joint. |
| Nailing schedule dependency | Edge nailing at 6 in. o.c. instead of 3 in. o.c. cuts capacity by roughly 50%, regardless of blocking quality. |
| 3x blocking for high-shear | Nailing at 2–3 in. o.c. requires 3x blocking members to prevent splitting and maintain withdrawal resistance. |
| Inspection timing | Blocking must be verified before drywall. Missing blocking is undetectable after finishes are applied. |
Why blocking deserves more attention than it gets
I have reviewed a lot of shear wall designs over the years, and the pattern is consistent: engineers detail holdowns and nailing schedules with care, then leave blocking to a generic note that says "block all panel edges per code." That note is technically correct. It is also routinely ignored in the field.
The uncomfortable reality is that blocking is the detail most likely to be wrong when a building is inspected or, worse, when it fails. Framers understand plates and studs. Blocking at mid-height panel joints is less intuitive, and without a clear framing plan showing its location, it gets skipped. The lateral force path breaks silently, behind sheathing that looks perfectly installed from the outside.
What I have found actually works is specificity on drawings. Label every blocking location. Call out the member size. Note the nailing schedule that applies to that blocking. When the framing contractor sees a detail that specific, they treat it as a real requirement, not a boilerplate note. Architects and engineers who coordinate this level of detail with their framing teams consistently produce walls that pass inspection the first time.
The other piece that gets overlooked is fastener supervision. A blocked wall with over-driven nails is not a code-compliant wall. Nail gun pressure settings need to be checked at the start of every sheathing operation, not assumed. I would rather spend 10 minutes calibrating a nailer than spend hours documenting a capacity reduction on a completed wall.
Software like ShearWise Pro helps close the gap between design intent and field execution. When your calculations explicitly account for blocking inputs, nailing schedules, and wall line geometry, the documentation you hand to the contractor is specific enough to be followed correctly. That specificity is what separates a wall that performs from one that merely looks right.
— Evalin
ShearWise Pro for shear wall design with blocking inputs
Engineers and architects who need to document blocking specifications alongside full shear wall calculations will find ShearWise Pro built for exactly that workflow.

ShearWise Pro is an online shear wall calculator for 1-story and 2-story wood-framed buildings. The platform organizes wall lines, full-height segments, hold-down forces, transfer straps, and nailing schedules into clean PDF reports ready for review coordination. You can input blocking specifications directly and generate reports that reflect the actual design assumptions your drawings require. For engineers who want to verify their workflow before committing, ShearWise Pro tutorials walk through the full calculation process step by step.
FAQ
What is a blocked shear wall?
A blocked shear wall is a wood-framed shear wall assembly where horizontal blocking is installed at every sheathing panel edge that does not bear on a top or bottom plate. Blocking provides solid framing backing for edge nails, enabling full shear force transfer across horizontal panel joints.
How much does blocking increase shear wall capacity?
Blocked shear walls carry approximately double the allowable shear capacity of unblocked walls under IBC 2306. An unblocked wall of the same construction handles roughly 50% of the shear load a blocked wall can resist.
When is 3x blocking required in shear walls?
3x blocking is required when edge nailing is specified at 2 or 3 inches on center. At that density, 2x members split under nail installation, which destroys withdrawal resistance and reduces capacity.
What happens if blocking is missing at a panel joint?
Missing blocking at a horizontal panel joint breaks the lateral force transfer path at that level. The wall section loses continuous shear wall panel credit under IRC 2018 R602.10.4 and cannot achieve its rated design capacity.
How do you verify blocking before drywall?
Inspect framing before sheathing is applied or immediately after, while panel edges are still visible. Photograph each horizontal joint to document blocking presence, member size, and nailing. Once drywall is installed, missing blocking cannot be confirmed without destructive investigation.