
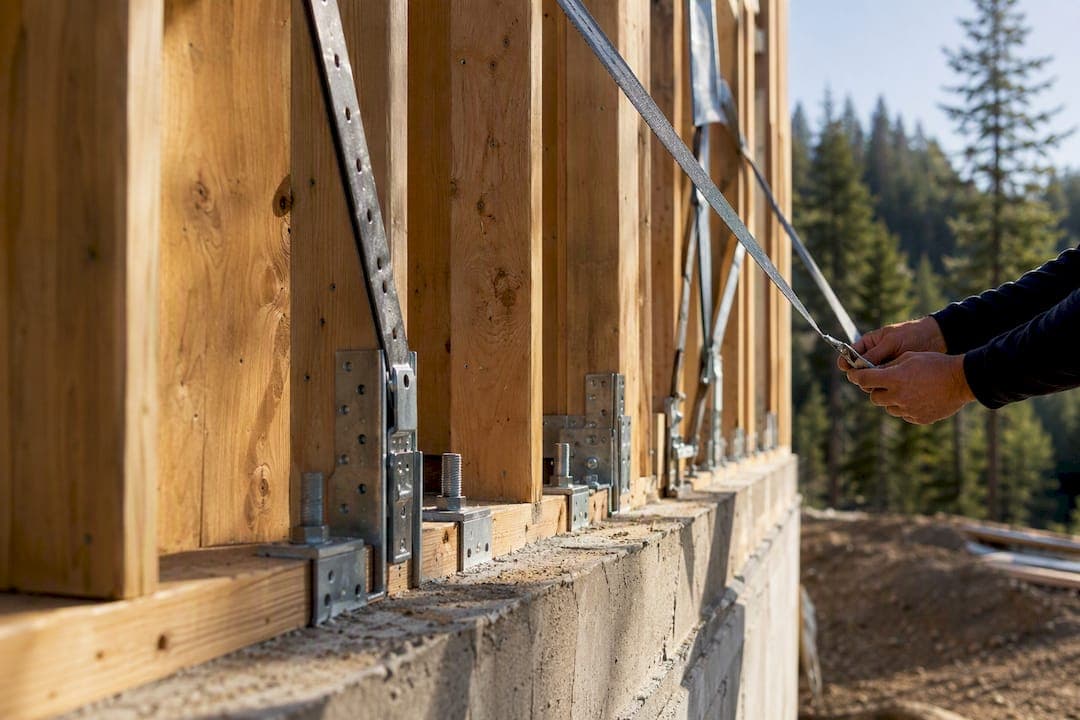
Seismic Design Category (SDC) is the code classification, A through F, that determines which lateral systems you can use, how you detail connections, whether height limits apply, and what special inspections a jurisdiction requires. It comes from two inputs: your project's Risk Category and the site-adjusted spectral accelerations (SDS and SD1) at your exact coordinates. Most of western Oregon lands in SDC D, but coastal parcels inside tsunami inundation zones can land in E or F, which triggers additional design requirements under ASCE 7.
Before you sketch a single wall line, pull site-specific numbers from the state's own tool:
- Get SDS and SD1 from the Oregon Design Criteria Hub using your project address.
- Confirm your Risk Category per OSSC Table 1604.5.
- Check whether your parcel sits in a mapped tsunami zone, since that changes everything downstream.
Key Takeaways
Confirming Seismic Design Category through the Oregon Design Criteria Hub before finalizing a lateral layout is the single change that prevents the most rework on Oregon wood frame permits.
| Point | Details |
|---|---|
| Most of western Oregon is SDC D | Coastal parcels in tsunami zones can be reclassified to E or F under ASCE 7 and OSSC §1614. |
| Hub report comes first | Pull SDS/SD1 from the Oregon Design Criteria Hub before choosing a lateral system. |
| D-Default is conditional | Acceptable for straightforward inland sites; order geotech near rivers, coasts, or unusual soils. |
| Retrofit triggers shift annually | Portland's seismic evaluation trigger currently sits at current project valuation threshold. |
| Documentation prevents review delays | Cite the Hub PDF, Risk Category, and specific OSSC/ASCE 7 tables in the cover letter. |
Table of Contents
- What Is Seismic Design Category and Why Does It Control Design?
- How Do You Determine SDC for an Oregon Project?
- What Triggers a Higher SDC or a Mandatory Retrofit?
- Building a Permit-Ready Workflow for SDC Compliance
- Sources
What Is Seismic Design Category and Why Does It Control Design?
SDC is not a hazard rating you eyeball from a map. It's a calculated outcome that runs through a specific chain: mapped spectral accelerations (S_S and S_1) get adjusted by site coefficients (F_a and F_v) based on soil class, producing design spectral accelerations SDS and SD1. Those two numbers get run through lookup tables in ASCE 7 and cross referenced against your Risk Category to land on a letter grade, A through F. Oregon's building code adopts this process with a handful of state-specific errata and coefficient tables, documented in the OSSC modifications to ASCE 7.
The letter you land on changes real decisions on the drafting table, not just paperwork:
- SDC A and B rarely appear in Oregon outside a few isolated inland pockets, and they carry the fewest restrictions on system selection and detailing.
- SDC C starts introducing detailing requirements for connections and diaphragm continuity that a lot of teams accustomed to lighter categories miss on the first pass.
- SDC D is where most western Oregon wood frame projects live, and it brings mandatory special inspections for certain connections, restrictions on which lateral systems qualify as prescriptive versus engineered, and tighter aspect ratio limits on shear wall segments.
- SDC E typically applies to Risk Category I, II, or III structures where SD1 crosses a defined threshold, and it removes several prescriptive options entirely, pushing the project toward fully engineered lateral design.
- SDC F is reserved for essential facilities (Risk Category IV) meeting the same high demand thresholds as E, and it adds the most conservative detailing and inspection requirements in the code.
A large portion of Oregon's populated western corridor sits in SDC D under current mapping, which is why so much of this article treats D as the baseline case rather than the exception.
One wrinkle catches teams off guard when a residential project shifts to prescriptive methods: the Oregon Residential Specialty Code subdivides D differently than the IBC/OSSC path does, following the FEMA 2024 SDC map guidance that splits D into D0, D1, and D2 tiers for residential mapping. An engineer moving between an IBC commercial job and an ORSC residential job in the same week needs to check which mapping convention actually applies, because the tables aren't identical. Special inspection triggers and permitted system lists live in OSSC Chapter 17 and cross reference ASCE 7 and AISC where steel elements are involved, so don't assume a wood-only project skips those sections entirely if it includes steel straps or hardware at hold-down locations.
How Do You Determine SDC for an Oregon Project?
Getting the right SDC on paper takes three steps, and skipping the order creates rework later.
Step 1: Pull the Hub report. Enter your project address into the Oregon Design Criteria Hub, maintained through Oregon State University's Oregon Explorer Program. It returns SDS and SD1 values along with snow load and wind speed criteria in both a one-page summary and a full PDF. Before you run the tool, confirm your Risk Category against OSSC Table 1604.5, since the Hub asks for it as an input.
Step 2: Confirm site soil class. The Hub brochure defaults to "D-Default" soil class when no geotechnical report exists. That default is conservative and often acceptable for straightforward inland sites with no unusual subsurface conditions. Order an actual geotechnical report when your site sits near a river, floodplain, or coastal bluff, or when the Hub's default assumption seems clearly wrong for the terrain you're looking at. A geotechnical report can materially change your permit submittal, sometimes downgrading a conservative D-Default assumption to a stiffer, less demanding site class.
Step 3: Check the S_1 threshold for E/F. If your Hub output shows SD1 crossing the threshold defined in ASCE 7 for your Risk Category, and your parcel falls inside a mapped tsunami zone, you're likely looking at SDC E or F rather than D. At that point, hand calculations from the mapped values through ASCE/SEI 7 replace a simple table lookup, and you should loop in a geotechnical engineer early.
- Attach the Hub PDF (or geotechnical report) to your structural cover letter.
- Cite the specific OSSC or ASCE 7 table you used to confirm SDC.
- State your Risk Category and soil class assumption explicitly, even when using D-Default.
Pro Tip: Run the Hub report the same week you start schematic design, not after your lateral layout is locked. Confirming SDC late is the single most common cause of framing rework we see on 1 and 2 story wood projects.
What Triggers a Higher SDC or a Mandatory Retrofit?
Tsunami inundation zones are the biggest wildcard on the Oregon coast. A site can show moderate SDS and SD1 values inland from the immediate shoreline, yet still get pushed to SDC E or F once tsunami design provisions under OSSC §1614 and ASCE 7 kick in. That reclassification adds analysis and detailing requirements well beyond a standard D assignment, including additional lateral force checks tied to tsunami inundation depth and velocity assumptions rather than seismic ground motion alone. Confirm tsunami zone status early, because it changes your entire structural approach, not just a table lookup.
Existing buildings carry a separate set of triggers under the Oregon Existing Building Code, and Portland's local enforcement makes the stakes concrete:
| Trigger Type | Example Threshold (Portland) |
|---|---|
| Seismic evaluation trigger | current project valuation threshold |
| URM alteration cost trigger | project valuation per square foot |
| Change of occupancy | Can mandate evaluation regardless of cost |
| Unreinforced masonry (URM) buildings | Subject to dedicated retrofit provisions |
These thresholds update annually, so a renovation budget that comfortably avoided a retrofit trigger last cycle can cross it this year without any change in scope.
- A remodel that seems purely cosmetic can trip a mandatory seismic evaluation once construction cost crosses the current threshold.
- Change of occupancy almost always forces a seismic review, independent of project cost.
- URM buildings face retrofit rules that apply even when no other work is planned.
Track your jurisdiction's current thresholds before you finalize a project budget, not after a permit reviewer flags it.
Building a Permit-Ready Workflow for SDC Compliance
A clean SDC workflow follows a fixed order, and jumping steps is where projects lose weeks at plan review.
- Pull the Hub report first. Do this before any lateral system is chosen, not after.
- Decide on geotech versus D-Default. Order a geotechnical report for coastal, riverside, or unusual subsurface sites; document the D-Default assumption in writing when you skip it.
- Lock SDC before finalizing the lateral layout. Wall line locations, shear wall lengths, and hold-down selections all depend on the SDC you've confirmed, so finalize this before detailing.
- Assemble the submittal package. Include the Hub PDF (or geotech report), a statement of Risk Category and SDC, the specific OSSC/ASCE 7 table citations you used, and a special inspection statement where SDC D and above requires one.
- Cross check prescriptive limits. For 1 and 2 story wood frame projects in SDC D, confirm whether intermediate or special prescriptive provisions apply before defaulting to a fully engineered lateral system.
Reviewers spend a disproportionate amount of time on submittals where the SDC basis is implied rather than stated, and unclear documentation is one of the most common sources of review comments on residential wood frame permits. Organizing your shear wall calculations, hold-down forces, and story drift checks into a single clean package, rather than scattered spreadsheets and hand notes, is exactly the kind of documentation that shortens review cycles. ShearWise Pro was built around that specific workflow: wall lines, openings, full-height segments, hold-down forces, transfer straps, and story drift all live in one calculation set that exports to a clean PDF built for plan review coordination.
Pro Tip: Write your SDC basis as a single sentence in the structural cover letter: "Risk Category II, Site Class D-Default per Oregon Design Criteria Hub, SDC D per ASCE 7 Table 11.6-1." That one line resolves a question plan reviewers ask constantly.
A note on getting this right the first time
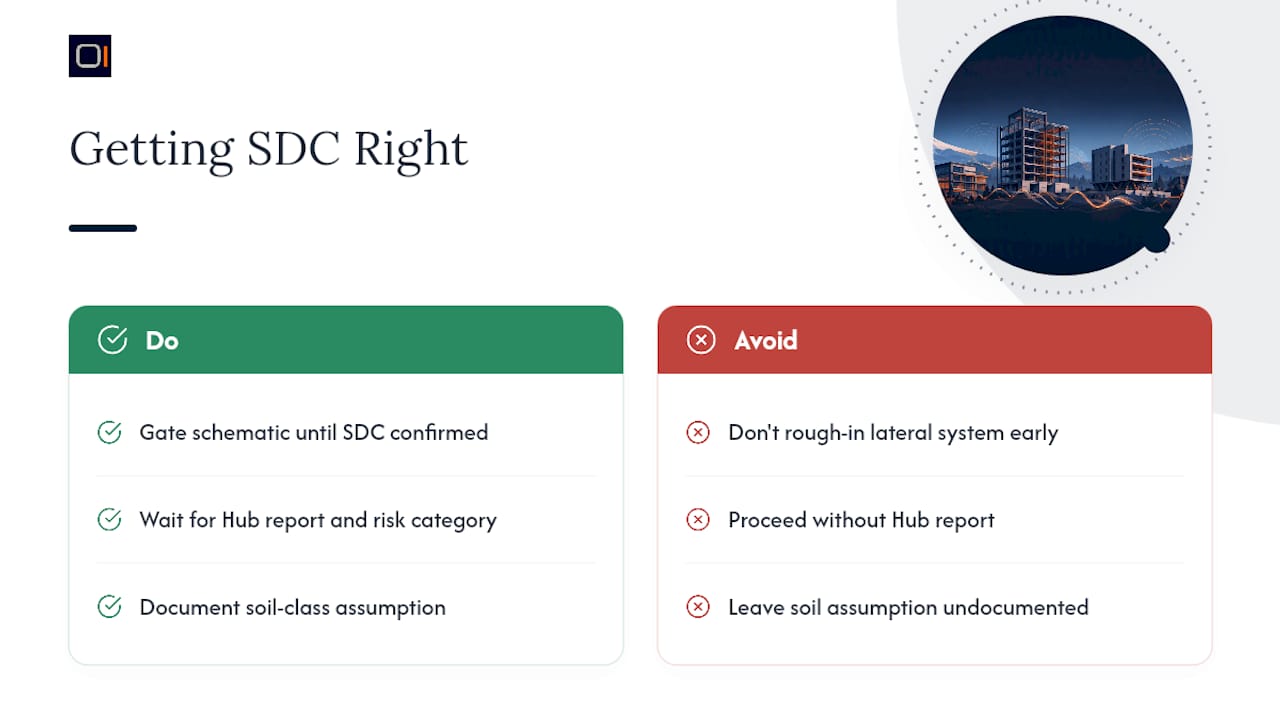
The mistake I see most often isn't a wrong SDC calculation. It's a late one. Teams sketch the lateral layout, pick a shear wall system, and then run the Hub report, only to discover the site actually sits in a stiffer or softer soil class than assumed, or worse, inside a tsunami zone that pushes the project to E or F. Every hour spent redesigning connections after the fact was avoidable.
My recommendation is blunt: gate schematic design on SDC confirmation. Don't let a lateral system get "roughed in" until the Hub report and Risk Category are locked. And write down your soil class assumption even when you're comfortable with D-Default, because an undocumented assumption is the first thing a skeptical reviewer questions.
— Evalin
Sources
- Oregon Design Criteria Hub - Building Codes Division
- Portland
- Introduction to 2024 Edition Seismic Design Category Maps (FEMA)
Getting SDC right on paper is only half the job. Turning that classification into a clean, coordinated shear wall design, with wall lines, hold-downs, and story drift documented in a way plan reviewers can actually follow, is where projects either move fast or stall in review comments. ShearWise Pro organizes shear wall calculations for 1 and 2 story wood frame buildings into permit-ready PDF reports, so your SDC determination connects directly to a lateral design package built for approval. Try the shear wall calculator with three free watermarked reports, or browse the tutorials to see the workflow before your next submittal deadline.