
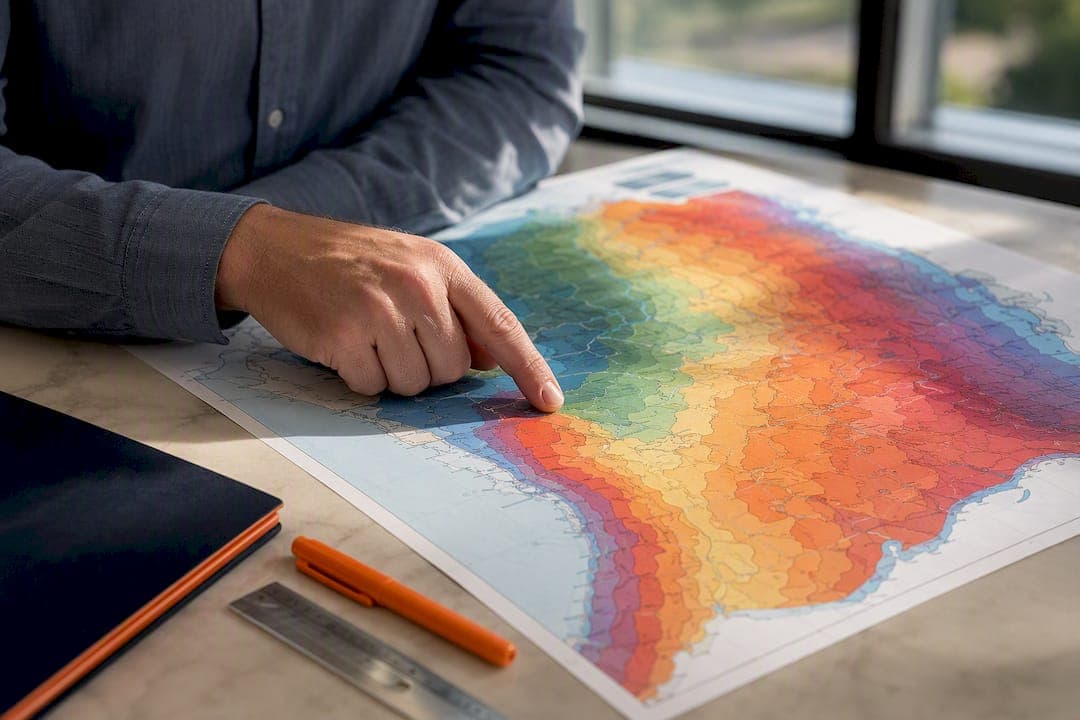
ASCE basic wind speed is the ultimate three-second gust at 33 feet, referenced to Exposure C terrain. For a defensible design value, pin your coordinates in the ASCE Hazard Tool, select the correct Risk Category, and export the result. That single step replaces guesswork with a documented, code-tied number ready for your calculation package.
TL;DR:
- Using the ASCE Hazard Tool ensures site-specific wind speeds are documented and aligned with the correct ASCE edition and Risk Category for accurate design; choose the appropriate map based on project importance and location.
- The basic wind speed represents the maximum three-second gust at 33 feet in Exposure C terrain, but actual design pressures require applying multiple K factors and site-specific adjustments.
- For sites near topographic features or within a mile of Special Wind Regions, consider a site-specific wind study to account for localized acceleration beyond regional map values.
- Small variations in mapped wind speed can significantly impact shear-wall forces in wood-frame buildings, making proper documentation and early consultation with authorities essential.
- Integrating the wind speed directly into structural design tools and reports streamlines compliance and reduces errors during permit review and project updates.
Table of Contents
- How Do You Get a Site-Specific ASCE 7 Wind Speed?
- What Does "Basic Wind Speed" Actually Mean?
- Which ASCE 7 Wind Speed Map Applies to Your Project?
- What Adjustment Factors Modify the Mapped Wind Speed?
- How Do You Turn V Into a Design Load?
- What Should Your Wind Speed Workflow Actually Look Like?
- Why Do Small Wind Speed Changes Matter for Wood-Frame Design?
- Apply Mapped Wind Speeds Directly in Your Shear-Wall Calculations
- Where to Verify These Wind Speed Figures Yourself
- Sources
How Do You Get a Site-Specific ASCE 7 Wind Speed?
Skip the printed contour maps in the back of the standard. They invite interpolation error, and most jurisdictions now expect a documented digital lookup instead.
- Locate your site. Enter the project address or drop a coordinate pin directly on the building footprint. Coordinates beat address search when the parcel sits near a contour line, a coastline, or a jurisdiction boundary.
- Select the governing ASCE edition. Confirm whether your Authority Having Jurisdiction (AHJ) has adopted ASCE/SEI 7-10, ASCE/SEI 7-16, or ASCE/SEI 7-22. Building code cycles lag behind ASCE releases, so the local amendment table matters more than the calendar year.
- Set the Risk Category. A single-family residence returns a different V than a fire station on the same lot.
- Read the output fields. The ASCE Hazard Tool returns the three-second gust V at 33 feet for Exposure C, along with hurricane-prone region and wind-borne debris flags.
- Export and archive the result. Save the report as part of your permit submittal.
Statistic Callout: The ASCE Hazard Tool is built to serve ASCE 7-10, 7-16, and 7-22 simultaneously, so the edition you pick in the dropdown, not the calendar year, determines which map generation drives your number.
What Does "Basic Wind Speed" Actually Mean?
The basic wind speed, V, is the ultimate three-second peak gust measured at 33 feet (10 meters) above ground, over Exposure C terrain. Exposure C is open country with scattered obstructions, the baseline every mapped contour assumes before you touch it with site-specific factors.
Real sites rarely match that baseline, which is why exposure category matters immediately after you pull V:
- Exposure B: urban and suburban areas, wooded terrain, closely spaced obstructions.
- Exposure C: open terrain with scattered obstructions, the mapping default.
- Exposure D: flat, unobstructed terrain facing open water, the most severe wind exposure category.
Edition matters too. ASCE 7-16 revised the mapped values outside hurricane-prone regions, sharpened Special Wind Region boundaries, and dropped the old 60-foot height cap on rooftop equipment provisions, changes that carried forward into 7-22. Whatever V you pull from the map, convert it to your actual design height using the Kz table rather than applying the 33-foot value as-is.
Which ASCE 7 Wind Speed Map Applies to Your Project?
ASCE 7 doesn't publish one wind map. It publishes separate maps by Risk Category, and each one is tied to a different Mean Recurrence Interval (MRI), the statistical return period behind the mapped gust.
Risk Category selection depends on occupancy and consequence of failure:
- Risk Category I: low-hazard structures such as agricultural buildings.
- Risk Category II: standard occupancies, most single-family and two-story residential wood buildings included.
- Risk Category III: buildings holding large assemblies of people, plus certain essential facilities.
- Risk Category IV: hospitals, fire stations, and other structures essential to post-event response.
ASCE 7-22 keeps the same Risk-Category-by-map structure introduced in 7-16, publishing distinct maps for MRIs in roughly the 300, 700, 1,700, and 3,000-plus year range rather than applying a single importance factor to one universal map. Picking the wrong Risk Category map is one of the most common ASCE 7 wind design errors on residential permit sets.
Statistic Callout: Mapped wind speeds correspond to specific probabilities of exceedance in 50 years, not a flat safety margin, which is exactly why a Risk Category IV hospital and a Risk Category II house on the same street can carry different design wind speeds. Document which map and MRI you used directly in your calculation package. An AHJ reviewer should be able to trace your V back to a specific map and edition without asking.
What Adjustment Factors Modify the Mapped Wind Speed?
The mapped V is a starting number, not a design load. Several K factors and a gust factor translate it into the pressure your structure actually sees:
- Kz: velocity pressure exposure coefficient, varying with height above ground and exposure category.
- Kzt: topographic factor, applied where hills, ridges, or escarpments accelerate local wind flow.
- Kd: wind directionality factor, accounting for the reduced probability that peak wind and peak structural response align on every face at once.
- Ke: ground elevation factor, adjusting for air density at higher elevations.
- G: gust effect factor, applied when converting velocity pressure into design pressure on rigid versus flexible structures.
Some sites need more than K factors. Gorges, canyons, and coastal promontories can channel or accelerate wind well beyond what a regional contour predicts, and ASCE flags these as Special Wind Regions requiring extra scrutiny. If your parcel sits inside a mapped Special Wind Region, near steep escarpment topography, or on an exposed coastal headland, treat the Hazard Tool output as a floor rather than a final answer.
Pro Tip: If your site triggers a Special Wind Region flag or sits within a mile of one, budget for a site-specific meteorological or wind-tunnel study early. Waiting until plan review to discover the flag almost always costs more time than commissioning the study upfront.
How Do You Turn V Into a Design Load?
Once you have an adjusted wind speed, the path to a usable pressure follows a fixed sequence:
- Start with mapped V from your Hazard Tool export, tied to the correct Risk Category and edition.
- Apply the K factors (Kz, Kzt, Kd, Ke) for your site's exposure, topography, and elevation.
- Calculate velocity pressure using qz = 0.00256 × Kz × Kzt × Kd × Ke × V², the standard reference formula in Chapter 26.
- Apply G and the relevant pressure coefficients (Cp or GCp) from Chapter 27 (Main Wind Force Resisting System) or Chapter 30 (Components and Cladding), depending on which element you're checking.
- Check rooftop equipment provisions separately, since ASCE 7-16 and 7-22 both expanded those rules beyond the old height-limited approach.
Document the edition, Risk Category, exposure classification, and every K factor value in your calculation set. A reviewer who can retrace your steps from V to final pressure without a phone call is the whole point of doing this carefully the first time.
What Should Your Wind Speed Workflow Actually Look Like?
A repeatable sequence keeps ASCE 7 wind design defensible across a busy caseload: confirm the adopted code edition with the AHJ, run the Hazard Tool lookup, classify the Risk Category, apply the K factors, then document every output inside the calculation PDF you submit.
Two triggers should pull you off map-only reliance every time:
- Special Wind Region flags or proximity to steep, wind-accelerating topography.
- Local AHJ amendments that override the base ASCE map value for your jurisdiction.
Exporting the Hazard Tool result directly, rather than retyping a number from memory, keeps a clean audit trail if a plan reviewer questions your V months later.
Pro Tip: Keep the Hazard Tool PDF export attached to your project file permanently, not just at submittal. It's the fastest way to answer a plan-check comment without rerunning the lookup from scratch.
For 1 and 2-story wood-framed projects specifically, ShearWise Pro is built to carry that documented V straight into your shear-wall layout and hold-down calculations, keeping the wind-speed source visible in the same report the AHJ reviews.
Why Do Small Wind Speed Changes Matter for Wood-Frame Design?
A shift of a few miles per hour in mapped V rarely feels dramatic on paper, but it moves velocity pressure with the square of the speed. On a two-story wood building already tight on shear capacity, that jump can push a wall line into a heavier hold-down or force an added full-height segment you hadn't planned for.
The number matters less than the paper trail behind it. Reviewers push back far more often on undocumented V than on a well-supported one that happens to be conservative. Loop in your AHJ early when a site sits near a Special Wind Region boundary. That conversation is cheaper before construction documents than after.
— Evalin
Apply Mapped Wind Speeds Directly in Your Shear-Wall Calculations
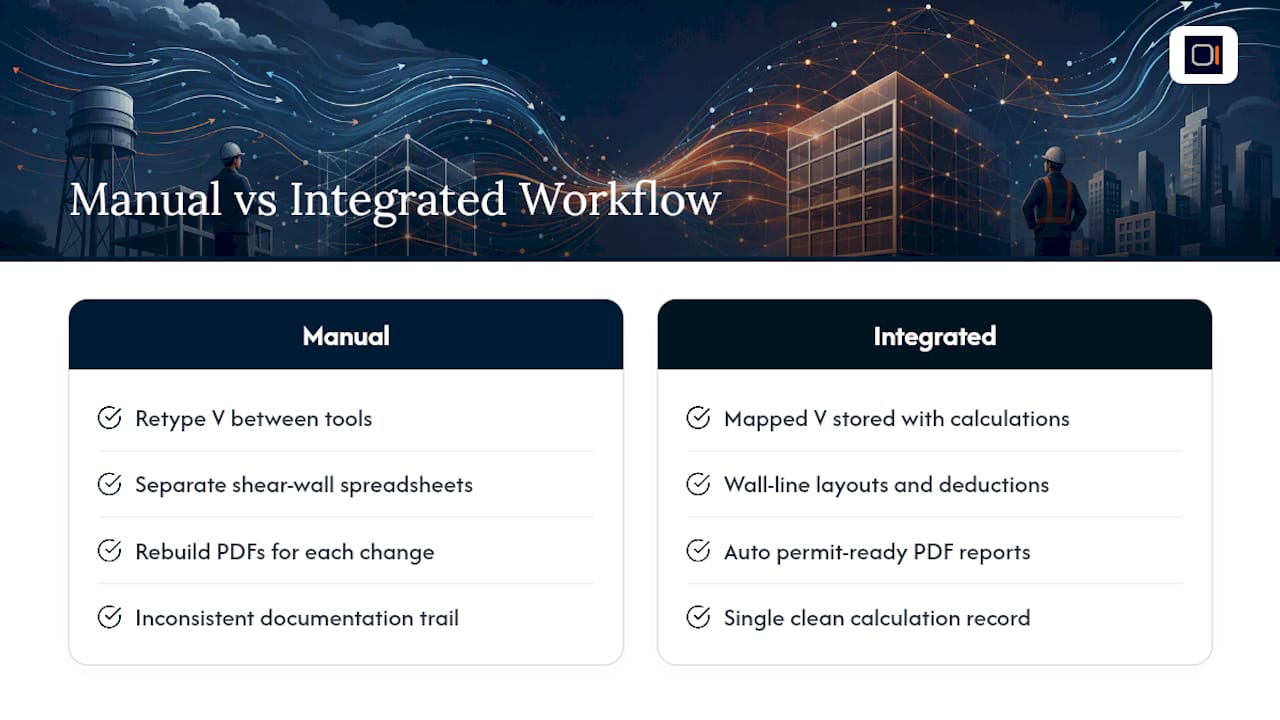
Once you've pulled a defensible V from the ASCE Hazard Tool, the next bottleneck is usually the handoff into your actual lateral design, retyping numbers between a hazard report and a shear-wall spreadsheet, hunting for the last hold-down revision, or rebuilding a PDF from scratch every time a wall line changes.

Some platforms for wood-framed projects allow wind speed inputs to feed into wall line layouts, opening deductions, full-height segment calculations, hold-down and transfer strap forces, and story drift checks within a single project file. Instead of juggling separate tools for the hazard lookup and the structural math, you keep the documented V, the Risk Category, and the resulting shear-wall forces in a single, clean calculation record. That consistency matters most on permit resubmittals, when a reviewer asks where a number came from and you need the answer in seconds, not an afternoon.
The platform generates permit-ready PDF reports built around that same data, so your documentation trail stays intact from hazard lookup to final calculation. Try it with three free watermarked reports, no commitment required, and see the shear wall calculator in action on your own project, or walk through the tutorial library first if you want a guided look before you start.
Where to Verify These Wind Speed Figures Yourself
Start with the ASCE Hazard Tool for site-specific V, then check the NIST assessment of ASCE peak-gust maps for methodology, and review ASCE 7-16's provision changes for edition context. For accurate coordinate pinning in the field, a construction surveying reference helps confirm control points before you run the lookup.
Sources
- ASCE Hazard Tool (PNNL library entry)
- About the ASCE Hazard Tool (ASCE)
- ASCE 7-16 wind load provisions (Structure Magazine)
- Wind speeds in ASCE 7 standard peak-gust map: assessment (NIST)