
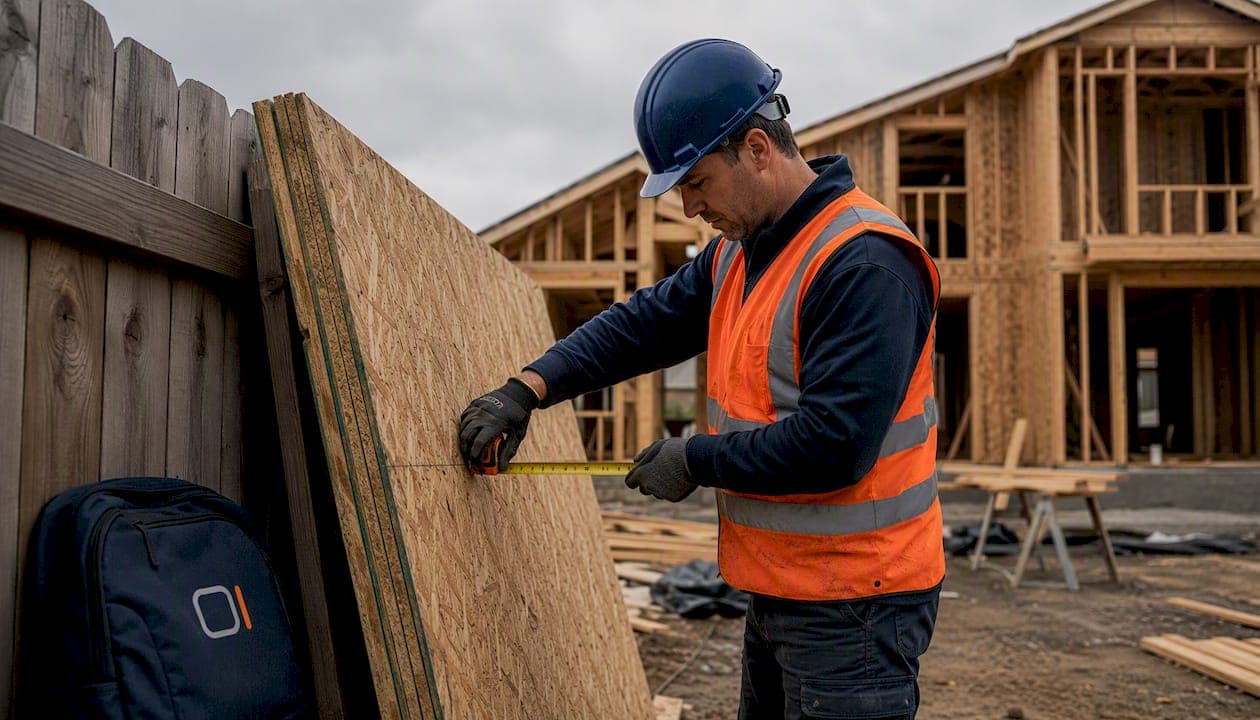
For typical residential wood framing, the IRC sets the minimum thickness at a standard OSB or plywood panel category for most braced wall applications. Most builders default to a common OSB panel thickness across the entire job, then choose thicker panels where framing spacing, cladding weight, or wind exposure demands it. Wall sheathing thickness, in the industry's formal language, refers to the panel's DOC PS 2 performance category, not a loose nominal label, and that distinction matters at the lumberyard and during inspection.
The Building America Solution Center confirms 7/16" as the common exterior wall minimum, with a 3/8" exception permitted for gable end structural sheathing in specific configurations. Here is where most projects land:
- Minimum (code): A standard minimum thickness for braced wall panels; a thinner option is allowed at gable ends and select 16" OC braced wall methods under IRC R602.3.3
- Common field practice: 7/16" OSB standardized across the job for simplicity; 1/2" where flatness or fastener performance is a priority
- When to upgrade: 24" OC framing, heavy cladding (fiber cement, stucco), high-wind or seismic design categories, or tall walls with wide openings
Table of Contents
- What do code minimums and panel performance categories actually require?
- How thick should wall sheathing be on a real job?
- OSB vs. plywood and other sheathing materials: what actually matters on the job
- How framing spacing, wind, seismic risk, and cladding weight change your thickness decision
- Installation details that affect sheathing performance more than thickness alone
- Cost, availability, and jobsite logistics when choosing panel thickness
- When should you call a structural engineer or code official?
- How a shear wall calculator helps you justify and record panel thickness choices
- Key Takeaways
- The case for standardizing thickness before the framing crew arrives
- ShearWise Pro helps you document panel thickness decisions for permit and review
- Authoritative references for IRC, APA, and panel performance guidance
What do code minimums and panel performance categories actually require?
IRC Section R602.3.3 ties minimum wood structural panel thickness directly to stud spacing and the braced wall method in use. The table below maps the four DOC PS 2 performance categories to their nominal field labels and typical IRC applications.
| Performance Category (PS 2) | Nominal Field Label | Typical IRC Application |
|---|---|---|
| 3/8" | 3/8" | Gable ends; select 16" OC braced wall methods |
| 7/16" | 7/16" | Standard exterior walls, 16" OC and 24" OC braced panels |
| 15/32" | "1/2"" (often mislabeled) | Upgraded exterior walls, heavier cladding, better flatness |
| 19/32" | 5/8" | High-wind, seismic, or impact-resistant applications |
The IRC sets 7/16" OSB or 15/32" plywood as the minimum for most exterior braced wall applications; the 3/8" minimum applies only to gable ends and select 16" OC braced methods.
The IRC R602.3.3 guidance requires APA-rated panels meeting DOC PS 2 (or PS 1 for plywood) for structural wall sheathing. Panels carry a stamp showing the span rating, performance category, and exposure durability classification. That stamp is your compliance record at inspection.
"Panel span ratings must be checked for wall applications — ordering by performance category, not a nominal inch label, is the correct way to specify structural sheathing and verify code compliance." — APA – The Engineered Wood Association
A few key points on panel designations:
- APA Rated Sheathing panels carry a two-number span rating (e.g., 24/0, 32/16). For wall applications, the second number (floor span) is less relevant; confirm the wall span rating matches your stud spacing.
- DOC PS 2 is the performance standard governing OSB and composite panels; DOC PS 1 governs construction plywood. Both are accepted under the IRC.
- Panels marked "Exposure 1" are suitable for typical construction exposure; "Exterior" panels are required where permanent moisture exposure is expected.
- The performance category printed on the stamp (3/8", 7/16", 15/32", 19/32") is the specification reference, not the tape-measure thickness.
How thick should wall sheathing be on a real job?
The code minimum is a floor, not a recommendation. Here is how thickness choices play out across common project types.
| Thickness | Code Status | Best For | Framing Compatibility | Notes |
|---|---|---|---|---|
| 3/8" | Minimum (gable ends, limited) | Gable ends, select 16" OC braced methods | 16" OC only | Avoid mixing with 7/16" on the same job |
| 7/16" | Code minimum (most braced wall apps) | Standard exterior walls, broad compatibility | 16" OC and 24" OC | Default for most residential projects |
| 15/32" (1/2") | Above minimum | Heavier cladding, better flatness, upgraded fastener holding | 16" OC and 24" OC | Industry guidance recommends this as the standard upgrade |
| 19/32" (5/8") | Above minimum | High-wind, seismic, impact-resistant, stucco or stone veneer | 16" OC and 24" OC | Engineered applications; confirm with structural drawings |
Many projects standardize on 7/16" OSB to eliminate jobsite sorting errors and reduce the chance of supplier misdeliveries. The cost difference between 7/16" and 1/2" is small per panel, and the performance gain in flatness and nail holding is real, particularly under rigid claddings.
Supplier guidance confirms that 7/16" covers most 16" OC and 24" OC applications, while 1/2" is the standard recommendation for high-wind zones and heavier siding systems.
Pro Tip: Specify panels by DOC PS 2 performance category and APA span rating on your submittal, not by nominal inch label. A supplier may deliver 15/32" panels labeled "1/2-inch," which are a different PS 2 category. The stamp on the panel, not the sticker on the bundle, is what the inspector checks.
OSB vs. plywood and other sheathing materials: what actually matters on the job
Plywood and OSB of the same APA-rated sheathing performance category are structurally equivalent under the IRC. The choice between them comes down to moisture behavior, cost, and finish requirements.
OSB (oriented strand board)
- Lower cost and widely available in all performance categories
- More susceptible to edge swelling when exposed to moisture before dry-in; swollen edges telegraph through siding
- Consistent panel-to-panel thickness, which helps with flatness on long wall runs
- Good nail holding in the field; edge holding can degrade if edges swell
Plywood
- Better moisture tolerance; dries more predictably after rain exposure
- Preferred for applications where the substrate will remain exposed for extended periods or where premium finishes require a stable backing
- Slightly higher cost; availability in thicker categories (19/32") is generally good
- More forgiving on cuts and re-nailing during corrections
Structural fiberboard (e.g., Celotex-type panels)
- Lower structural capacity than wood structural panels; not a direct substitute for braced wall sheathing without engineering review
- Provides some insulating value; used in non-structural sheathing layers in some assemblies
Gypsum sheathing
- Non-structural; used as a weather-resistant barrier substrate in commercial and some residential applications
- Not a substitute for wood structural panel sheathing in braced wall applications
For most residential projects, OSB at 7/16" or 15/32" is the practical default. Plywood earns its premium when the schedule is tight, rain exposure is likely, or the finish cladding demands a flatter, more stable substrate.
How framing spacing, wind, seismic risk, and cladding weight change your thickness decision
Stud spacing is the first variable. At 16" OC, the IRC permits 3/8" in select braced wall methods, but 7/16" is the practical standard. At 24" OC, 7/16" is the code minimum for most braced wall applications, and upgrading to 15/32" is common where any of the following apply.
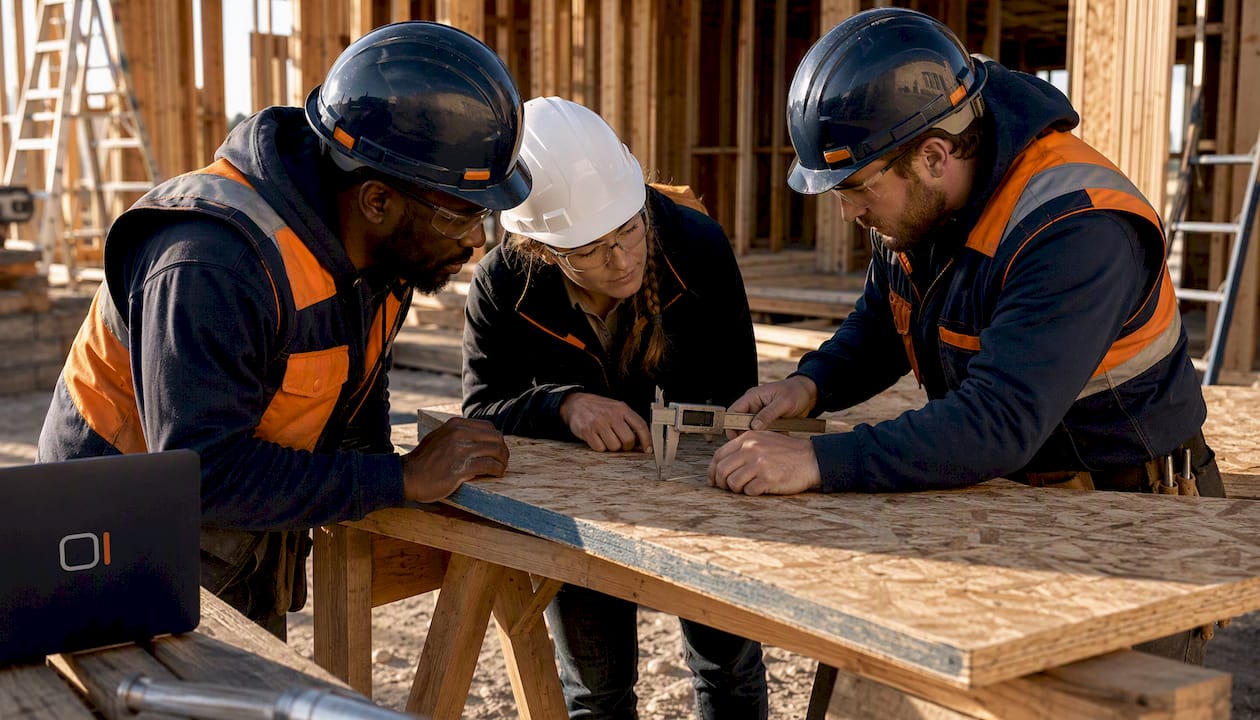
Experts note that framing spacing, local wind and seismic exposure, and cladding type together determine whether the code minimum is sufficient or whether a thicker panel is the right call.
Three practical scenarios illustrate the decision:
-
Mild climate, vinyl siding, 16" OC framing: 7/16" OSB meets code and performs well. Vinyl siding is lightweight and forgiving of minor surface variation. No upgrade required unless the braced wall design demands higher shear capacity.
-
Coastal high-wind zone, fiber cement siding, 24" OC framing: Industry guidance recommends 1/2" (15/32") as a minimum here, with 5/8" (19/32") for engineered high-wind or impact-resistant assemblies. Fiber cement is heavy and unforgiving of substrate waves; thicker panels reduce deflection between studs and improve fastener holding at the siding attachment.
-
Tall gable end wall with wide openings: The gable end exception (3/8" minimum) applies only to specific configurations. A tall gable with large window openings concentrates lateral load on narrow full-height sheathing segments. Consult the APA span tables and, in many cases, a structural engineer before specifying thickness here.
Pro Tip: Check your jurisdiction's adopted wind speed map (ASCE 7 or IRC Figure R301.2) before finalizing panel thickness. Many coastal and mountain jurisdictions have adopted higher design wind speeds that push the minimum sheathing requirement above the base IRC table value.

Installation details that affect sheathing performance more than thickness alone
Correct fastening often matters more than a one-step thickness upgrade. A 7/16" panel nailed per the IRC schedule outperforms a 1/2" panel with random nailing every time.
Key installation requirements for braced wall sheathing:
- Nail size: 8d common nails (0.131" diameter × 2.5" long) are the standard for 7/16" and 15/32" panels; 10d common nails for 19/32" panels in high-shear applications. Confirm with the IRC nailing schedule or the shear wall nailing guide.
- Edge spacing: 6" on center at panel edges for standard braced wall applications; 4" or 3" for higher shear demand (confirmed in structural drawings or shear wall schedule).
- Field spacing: 12" on center in the panel field for standard applications.
- Panel orientation: Install panels with the long dimension vertical (parallel to studs) unless the design specifies horizontal. Horizontal installation requires blocking at horizontal seams.
- Panel gaps: Leave a 1/8" gap at panel edges and ends to allow for moisture-related expansion. Butting panels tight is one of the most common installation errors.
- Blocking: Provide blocking at horizontal panel joints when panels are installed horizontally, and at the top and bottom of braced wall panels where the shear schedule requires it.
- Staggering: Offset vertical panel seams by at least one stud bay to avoid continuous vertical joints.
Pro Tip: Photograph panel stamps and nailing patterns before insulation or cladding covers them. Inspectors increasingly request photo documentation, and having a timestamped record protects you if a question arises during final inspection or warranty review. For strap tie connections at panel boundaries, document those separately.
Cost, availability, and jobsite logistics when choosing panel thickness
Thickness affects more than structural performance. It also affects your delivery schedule, crew handling time, and waste rate.
Cost and availability considerations:
- 7/16" OSB is the most widely stocked panel at lumber suppliers across the U.S. It is the lowest-cost structural sheathing option and available in full unit quantities from most distributors.
- 15/32" (1/2") OSB or plywood costs modestly more per panel and is nearly as widely available. The per-panel weight increase is manageable for two-person crews.
- 19/32" (5/8") panels carry a higher material cost and are less commonly stocked in OSB; plywood in this category is more available. Special-order lead times can affect dry-in scheduling.
- Freight and handling costs scale with panel weight. Thicker panels add meaningful weight per bundle, which affects crane or forklift requirements on taller walls.
Jobsite handling notes:
- Store panels flat, off the ground, on level bearers, and covered with breathable tarps. OSB in particular should not sit in standing water or under a sealed plastic cover that traps condensation.
- Cut waste increases slightly with thicker panels because the material is harder to score-and-snap; plan for saw cuts throughout.
- Stage deliveries to match your dry-in schedule. Panels sitting on site for more than a few days before installation should be re-inspected for edge swelling or delamination.
Ordering tip: specify the DOC PS 2 performance category and APA span rating on your purchase order. A supplier who ships "1/2-inch sheathing" without a confirmed performance category may deliver 15/32" panels that are a different PS 2 category than what your drawings specify.
When should you call a structural engineer or code official?
Most residential wall sheathing decisions fall within the IRC prescriptive tables, but several conditions push the decision outside field judgment.
Situations that require a structural engineer:
- Buildings taller than 2 stories, or 1- and 2-story buildings with atypical story heights
- Wall lines with large openings that reduce full-height sheathing segments below what the IRC prescriptive method allows
- High-wind design categories (ASCE 7 Wind Exposure C or D, or jurisdictions with adopted wind speeds above the IRC base values)
- Seismic Design Categories D, E, or F, where the IRC prescriptive shear wall tables may not apply
- Cladding systems with significant weight (stone veneer, thick stucco) that add out-of-plane load to the sheathing
- Any substitution of panel type or thickness that deviates from the approved construction drawings
- Impact-resistant sheathing requirements in hurricane zones (Florida Building Code, Texas ERCOT coastal jurisdictions)
Administrative triggers that require code official consultation:
- Plan review comments requesting justification for panel thickness or shear wall layout
- Non-standard panel ratings or proprietary panel products listed on the structural drawings
- Permit applications in jurisdictions that have locally amended the IRC sheathing tables
Document every thickness decision. Keep the panel stamp photo, the supplier spec sheet, and the shear wall schedule together in the project file. If a permit inspector or building official questions the panel during framing inspection, a clear paper trail resolves the issue without a stop-work order.
How a shear wall calculator helps you justify and record panel thickness choices
Selecting the right panel thickness is only half the work. Documenting that the selection meets the design shear demand is what satisfies the engineer of record, the plan reviewer, and the inspector.
A dedicated shear wall calculator organizes that documentation systematically. The typical workflow:
- Enter wall lines, opening locations, and full-height sheathing segment lengths
- Select panel type (OSB or plywood) and performance category (7/16", 15/32", 19/32")
- Assign the nailing schedule (edge and field spacing)
- Run the shear capacity check against the applied lateral load
- Export a PDF report showing wall line summaries, shear schedules, hold-down forces, and connection details
The calculator flags cases where a 7/16" panel at standard nailing falls short of the design shear, and shows exactly what upgrade, whether a thicker panel, a tighter nail schedule, or both, closes the gap. That output is what an engineer or plan reviewer needs to confirm compliance without back-and-forth RFIs.
Outputs that matter to inspectors and engineers:
- Shear wall schedule with panel type, thickness, and nailing pattern per wall line
- Hold-down force summaries at shear wall ends
- Transfer strap requirements at floor and roof diaphragm connections
- Story drift check results for 2-story buildings
- Wall line summary with full-height segment lengths and unit shear values
Pro Tip: Attach the shear wall PDF report to your permit submittal package. Plan reviewers who can verify panel thickness and nailing schedule from a clean report approve faster than those who have to hunt through general notes on the architectural drawings.
ShearWise Pro is built specifically for this workflow on 1- and 2-story wood-framed projects. The platform organizes wall line analysis, shear calculations, hold-down forces, and panel specifications into a single report that engineers, architects, contractors, and inspectors can all work from. For projects where panel thickness is a design variable, not just a code lookup, that documentation layer is where the real value shows up.
Key Takeaways
For most residential wood-framed buildings, 7/16" OSB meets IRC minimums and serves as the practical field default, with 15/32" (1/2") panels as the standard upgrade for heavier cladding, wider stud spacing, or higher wind and seismic exposure.
| Point | Details |
|---|---|
| Code minimum thickness | IRC R602.3.3 sets 7/16" OSB or 15/32" plywood as the minimum for most braced wall applications; 3/8" applies only to gable ends and select 16" OC methods. |
| Specify by performance category | Order panels by DOC PS 2 performance category and APA span rating, not by nominal inch label, to avoid procurement errors. |
| When to upgrade to 1/2" or 5/8" | Use 15/32" or 19/32" panels for 24" OC framing, heavy cladding, high-wind or seismic zones, or where finish flatness is critical. |
| Fastening schedule is not optional | Edge nail spacing (6", 4", or 3" OC) and nail size directly control shear capacity; a correct nailing schedule often matters more than a one-step thickness increase. |
| ShearWise Pro for documentation | ShearWise Pro organizes shear wall calculations, panel thickness selections, and nailing schedules into clean PDF reports for permit submittal and inspector review. |
The case for standardizing thickness before the framing crew arrives
The most common thickness mistake on residential projects is not choosing the wrong panel. It is ordering two different thicknesses for the same job and letting the crew sort them out on site.
When 3/8" and 7/16" panels both show up on a delivery, someone will install the thinner panel in a braced wall location that required the thicker one. The cost difference between the two is small enough that it rarely justifies the risk. Standardizing on 7/16" OSB for the entire exterior, then specifying 15/32" or 19/32" only for explicitly engineered locations, eliminates that sorting problem entirely.
The marginal cost argument for thicker panels is also worth taking seriously. Upgrading from 7/16" to 15/32" across a typical single-family home adds a modest amount to the material budget, and the return in flatness, fastener performance, and reduced callback risk under rigid claddings is disproportionate to that cost. For projects with fiber cement, stucco, or stone veneer, the upgrade pays for itself before the first siding inspection.
Keep records. Photograph panel stamps before insulation goes in. File the supplier spec sheet with the permit package. If a warranty claim or inspection question arises two years after close-out, that documentation is the difference between a quick resolution and a protracted dispute.
ShearWise Pro helps you document panel thickness decisions for permit and review
When panel thickness is part of a shear wall design, the documentation requirement does not end with selecting the right category. Plan reviewers and inspectors want to see that the panel, the nailing schedule, and the wall geometry together meet the design shear demand, and they want it in a format they can check quickly.

ShearWise Pro gives engineers, architects, designers, and contractors a single platform to enter wall lines, assign panel types and performance categories, run shear capacity checks, and export clean PDF reports for permit submittal. The platform covers 1- and 2-story wood-framed buildings, handles hold-down forces, transfer straps, and story drift checks, and produces the wall line summaries that plan reviewers actually use. Fewer RFIs, faster approvals, and a complete record of every thickness and nailing decision in one place.
Start with three free watermarked reports, then move to a paid subscription when the workflow fits. See the full feature set at ShearWise Pro's shear wall calculator or sign up directly at shearwisepro.com.
Authoritative references for IRC, APA, and panel performance guidance
These are the primary sources to cite in submittals, permit packages, and specification notes.
-
Building America Solution Center — Structural Sheathing in Exterior Walls: Practical guidance on minimum thicknesses, gable end exceptions, and installation requirements for wood structural panel sheathing. Use this for specification language and code compliance checklists.
-
APA – The Engineered Wood Association: Fully Sheathed Walls: APA guidance on panel span ratings, performance categories, and the structural and attachment benefits of continuous sheathing. The primary industry reference for panel stamp interpretation and wall sheathing design.
-
IRC 2024 R602.3.3 — Exterior Wall Sheathing (Jaspector code reference): Section-level summary of IRC R602.3.3 requirements, including thickness tables, stud spacing interactions, and APA/PS 2 panel requirements. Use for code citation in submittals.
-
ArchitectureCourses.org — Exterior Wall Sheathing: What to Use and What Fails: Practical field guidance on upgrade thresholds, moisture handling, and finish flatness considerations for OSB and plywood.
-
FEMA P-499 — Home Builder's Guide to Coastal Construction: FEMA guidance on structural sheathing requirements in high-wind and coastal zones, including panel thickness and fastening requirements beyond the base IRC.
-
ShearWise Pro — Sheathing in Shear Walls: A 2026 Code Guide: Detailed coverage of how panel thickness and nailing schedule interact with shear wall capacity calculations and code compliance documentation.